Effective Aperture in Macro Photography: A Beginner’s Guide
If you’ve ever noticed your macro photos turning out darker or softer the closer you get to your subject, you’ve already met effective aperture — even if you didn’t know its name. Understanding this concept is key to getting sharper, brighter, and more controlled results, especially when using budget macro gear like extension tubes or close-up filters.
In this short overview, we’ll break down what effective aperture is, why it matters, and how to work around it.
What Is Effective Aperture?
Your lens has an aperture value — like f/4, f/8, or f/16 — that you set in the camera. That number works as expected when you’re photographing something at normal distances.
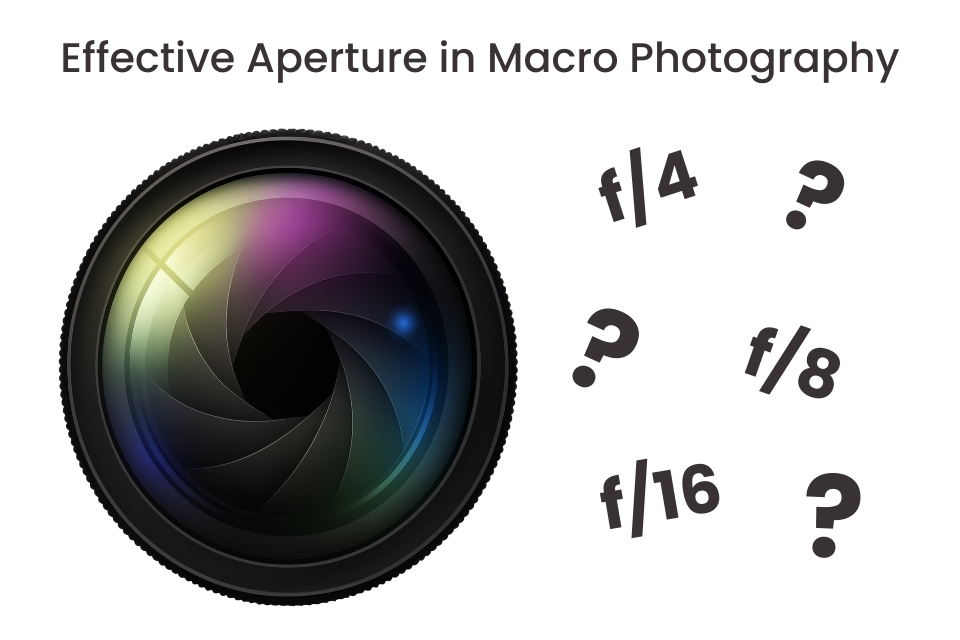
But in macro, especially when you add extension tubes, the lens is pushed farther away from the camera sensor to focus closer. The side effect? The opening of the lens (the aperture) effectively becomes smaller than what you dialed in.
So while your camera might say f/8, the lens could actually be letting in light more like f/16. That’s why your images look darker, why you suddenly need longer shutter speeds, and why your viewfinder can look dim when you’re working up close.
Close-up filters (diopters) don’t have this problem — they don’t change the effective aperture, which means your exposures stay brighter and easier to manage.
Why Does Effective Aperture Matter?
Effective aperture influences several critical aspects of macro photography:
- Exposure & Light Loss – The higher the magnification, the less light hits your sensor. You’ll need longer shutter speeds, higher ISO, or more light.
- Depth of Field – Macro DOF is razor-thin. In simple words, only a tiny part of the subject is sharp; the rest quickly blurs.
- Diffraction – Very small apertures (like f/22 effective) soften image detail. Finding the balance between sharpness and DOF is crucial.
- Viewfinder & Autofocus – With less light, your viewfinder gets dimmer and autofocus may struggle, especially when using extension tubes.
Extension Tubes vs. Close-Up Filters
Two popular budget macro tools handle effective aperture differently:
Extension Tubes
- Increase magnification by extending the lens away from the sensor.
- Also increase effective aperture → darker images, more light needed.
Close-Up Filters (Diopters)
- Work like a magnifying glass on the front of your lens.
- Do not change effective aperture → exposures stay brighter and easier to manage.
Quick Tips for Beginners
- Add more light (flash, LED, or bright daylight).
- Use a tripod or raise ISO if shutter speeds get too slow.
- Focus manually if autofocus struggles.
- Don’t use more magnification than you really need.
Want to Know More?
This was just a quick introduction. In the next articles, we’ll explore each part in more detail:
- How magnification really changes your aperture.
- Depth of field vs. diffraction — finding the sweet spot.
- Exposure tricks for brighter macro shots.
- Extension tubes vs. close-up filters explained in depth.
Stay tuned — mastering effective aperture will make your budget macro shots sharper, brighter, and more satisfying.